Listen to the article below by hitting the play button below and feel free to scroll the page for any helpful visuals. All of the articles on this website will have this audio feature for your convenience.
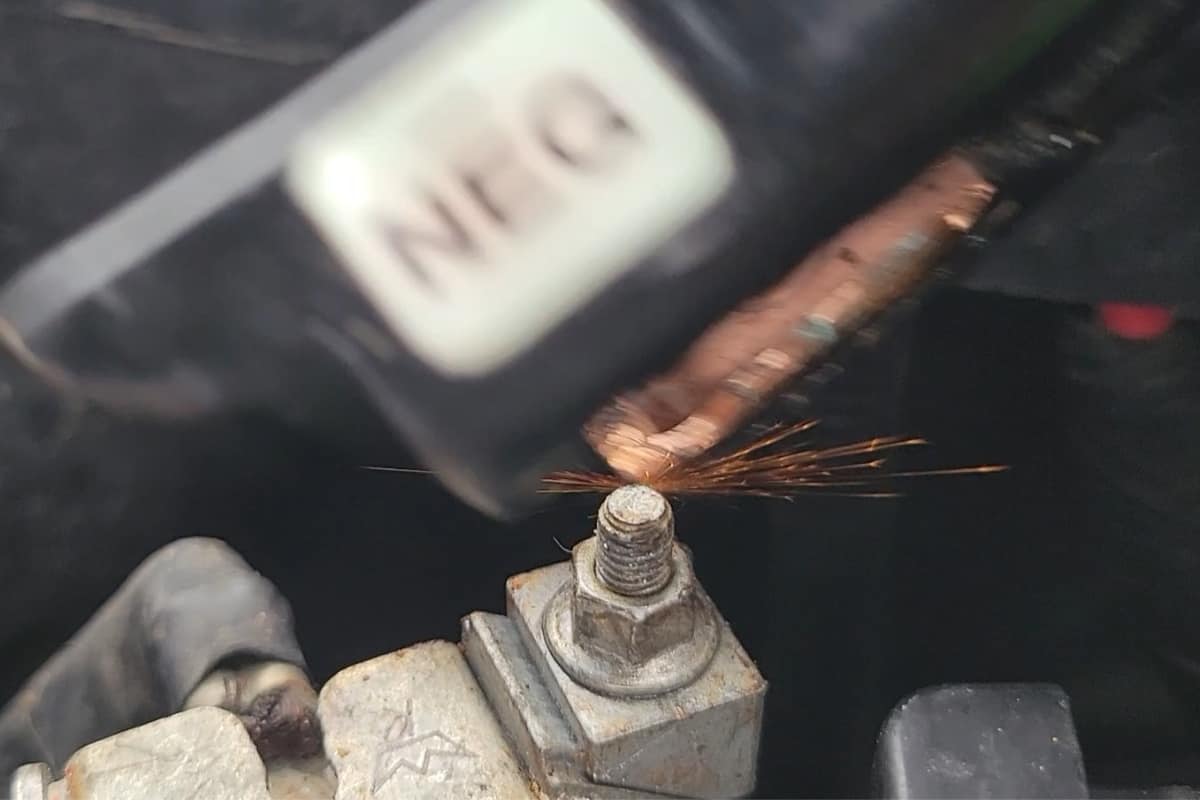
When connecting jumper cables or a battery charger to a battery, it is not uncommon to see sparks when the cables touch the battery terminals. This is electricity arcing through the air from the cable to the terminal right before you actually make a physical connection.
Though it’s not uncommon, you don’t necessarily want sparks to happen if you can avoid it.
Why A Spark Can Be Dangerous When Charging a Car Battery
When a battery is dead and in need of charging or a jump, many times one of the reasons is that it has internally short-circuited or is low on electrolyte. These reasons will cause a battery to generate lots of heat and will cause the electrolyte to boil and evaporate out of the battery.
The vapors and gasses that will be released are water, hydrogen sulfide, and hydrogen, and oxygen (just to name a few). The latter 3 are extremely flammable.
In a big enough area, the risk of a spark is pretty negligible, but right above the battery itself, where the concentrations are the highest, a spark can spell instant disaster with a fire or explosion.
So if your battery suddenly died and you go to give it a jump with another vehicle, there’s always the risk of igniting these gasses with a spark if you’re not careful.
How to Stop a Car Battery from Sparking When Using a Charger
If your car battery has died and you need to charge it with a designated battery charger, then the easiest way to remove a spark from the equation is to properly hook up the battery charging cables to the appropriate terminals on the battery while the charger is unplugged.
Once the terminals are verified and secured, go ahead and plug in the charger and you will never see a spark.
Be sure to unplug the charger, wait for 15 seconds, and then remove the cables when you are finished.
You’d be hard-pressed to find a modern charger today that does not have anti-spark features built into them. Anti-sparking technology simply lets you hook up the cables, the battery sends a current to the charging unit, the charging unit then recognizes the battery, and then it starts the charging process.
When using a modern charger, you will likely not be able to ever get a battery to spark even if you tried.
How to Avoid Dangerous Sparks When Giving a Car Battery a Jump
When using a set of jumper cables, we’re not dealing with a charger that has a microprocessor and anti-sparking technology. Once the cables are hooked up to 3 points on the hookup diagram, the final connection will almost always result in a spark.
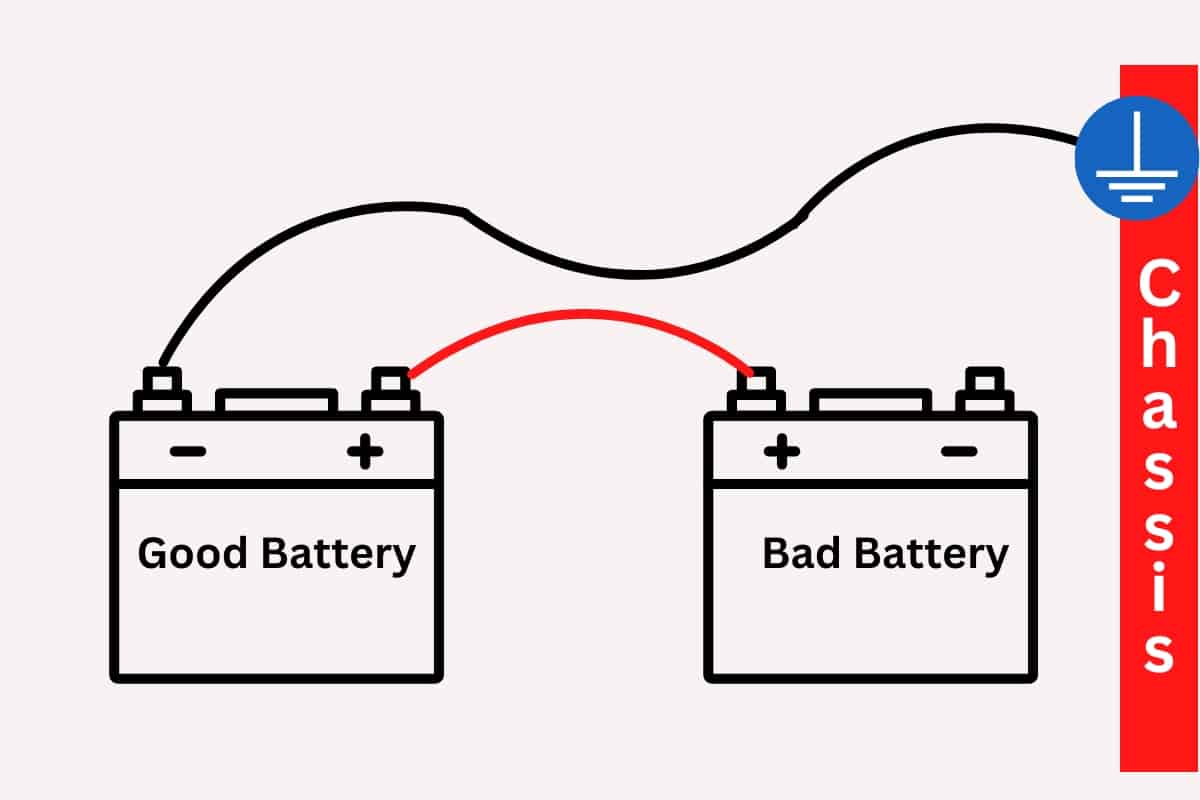
If you remember the first section of this article, we talked about why a spark right next to the top of a battery (where the vents are) is dangerous. That is why our final connection point on the vehicle with the dead battery is not on the negative terminal of the battery itself, but on the frame (chassis) of the car instead.
In order for electricity to flow, there must be a complete circuit. While the positive terminal of the battery has wires that go to each and every one of the electronics in the vehicle, the negative terminal of the battery is simply attached to the chassis of the vehicle itself. All of the negative terminals of the electronics in the car simply attach to the chassis as well.
Therefore, the positive terminal of the battery attaches to the positive side of the radio, the radio’s negative side attaches to the chassis, and the chassis attaches to the negative terminal of the battery to complete the circuit.
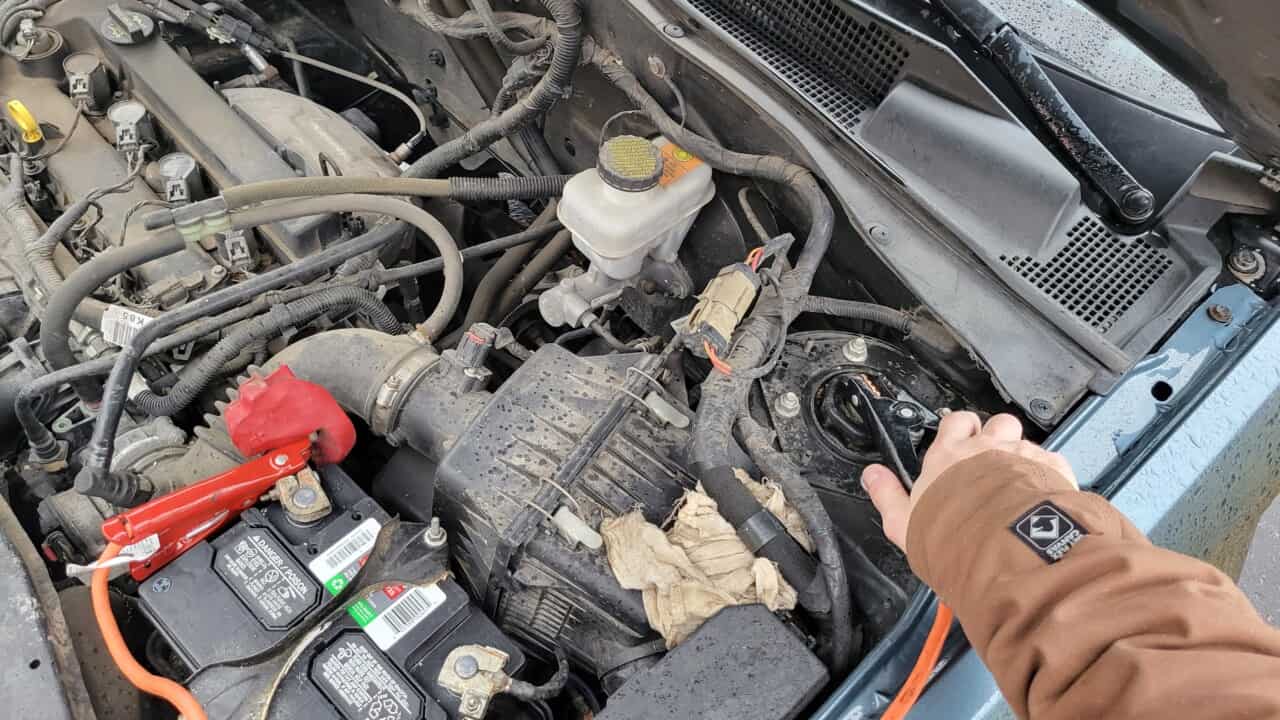
So, when we have two jumper cables on the good battery and a cable on the positive of the bad battery, all we need to do is attach the final negative jumper cable to the chassis (and away from the battery) in order to complete the circuit.
You’ll still likely experience a spark, but now the spark will be a foot or two away from the battery and will be exponentially more safe than hooking up directly to the battery terminal itself and casting sparks around the vents.